Beginner’s Guide to Blister Prevention on Long Hikes
You feel it before you see it. Somewhere around the fourth kilometre, a spot under your heel or across the top of a toe starts to feel warm, then tender, then personal. By lunchtime every step has something to say about it. Blisters are not a badge of toughness and they are rarely bad luck. They come from three things you can mostly control — friction, moisture and pressure — and most of the work of preventing them happens before you leave the house.
Start With the Sock, Not the Boot
Socks touch more of your skin than the boot does, so they deserve the first decision. Cotton is the material to leave at home: it soaks up sweat, holds it against the skin and loses its shape when wet, which is a fair description of how friction starts. Wool and synthetic blends move moisture away and keep their fit, so they bunch and wrinkle less even when damp. Merino blends are popular for good reason — comfortable, reasonably quick to dry, and less likely to smell like a mistake after three days.
Fit and seams matter more than brand
A sock should be snug from heel to toe. Fabric that folds behind the heel or under the arch creates exactly the shearing movement that lifts skin. Run your fingers along the inside of the toe box before you buy; a lumpy seam over the little toe will find you on a long descent. Choose a cuff that clears the top of the boot so grit and grass seeds stay outside, and check for a smooth, flat toe closure.
Match thickness to the boot
Thickness is not about warmth on a summer walk — it is about volume. A thin sock inside a boot that was fitted with thick socks lets the heel slide; a thick sock inside a tight boot squeezes the toes and presses seams into the foot. Always try boots on with the exact sock combination you plan to walk in.
Some walkers use a thin liner sock under a thicker hiking sock. The two layers slide against each other instead of rubbing against skin, which works well for people who blister on the heel or ball of the foot. It also adds heat and takes up space, so test it on a training walk rather than on the first day of a long route.
- A snug fit with no wrinkles at the heel or under the arch
- Flat or seamless toes, checked with your fingers
- Wool or synthetic fibres rather than cotton
- Cushioning that matches the boot's volume, not the thickest option on the shelf
- A spare pair in the pack, dry and ready for the afternoon
Boot Fit Decides Most Blisters
Try boots on late in the day, when your feet are at their largest, and take your walking socks with you. Stand up and shift your weight forward: you want roughly a finger's width between the end of your longest toe and the front of the boot. Less than that and every descent becomes a series of small collisions between toes and toe box, which is how blisters appear on the tips of toes that never touched anything on flat ground.
The heel should lift only slightly when you walk. If it rides up and down, you will feel it under the heel bone by mid-morning. Look for a boot whose width matches your foot rather than hoping a roomy boot can be tightened into shape — feet slide in a loose boot, and sliding generates heat.
Use the lacing properly
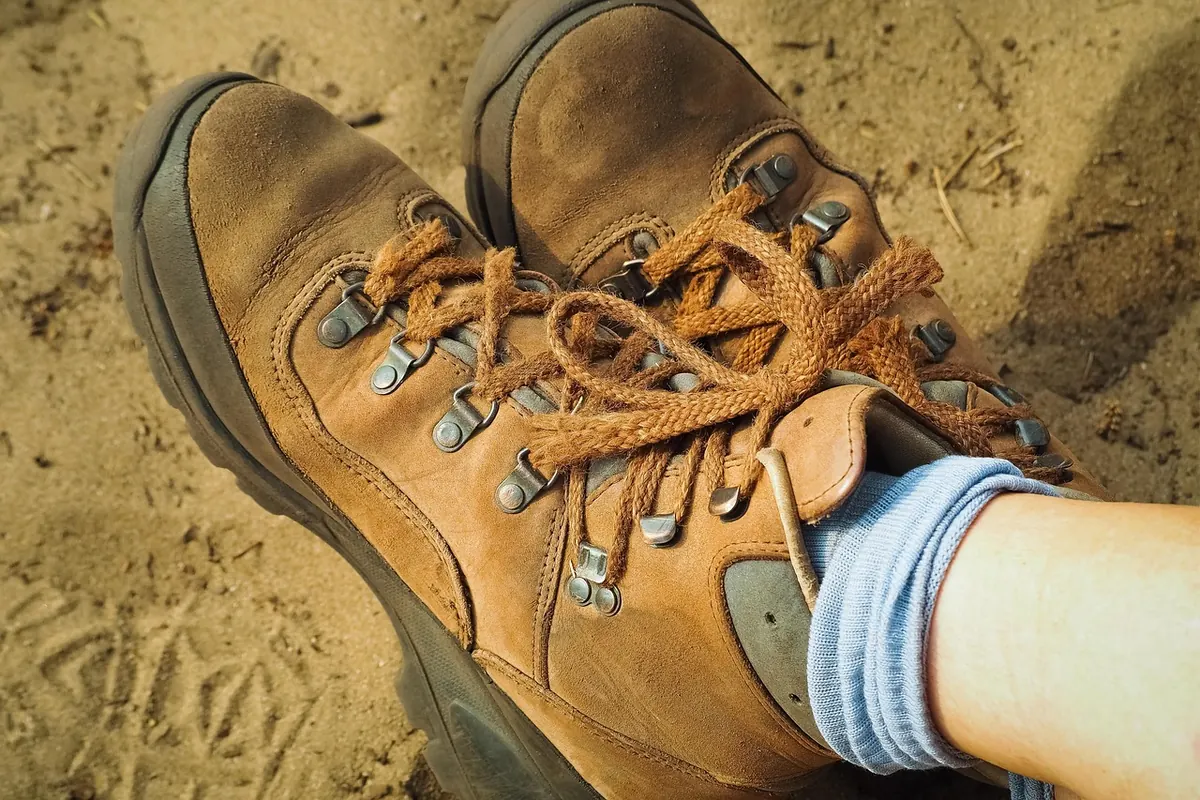
Most boots have two lacing zones for a reason. Keep the lower section comfortably loose so the forefoot can spread, then snug the upper section to hold the ankle. On boots with an extra eyelet pair at the top, a heel lock — crossing the laces to form a loop and pulling the ends through — pulls the heel back into its pocket and reduces movement. It takes thirty seconds and is worth practising at home.
Adjust the volume if you need to
If a well-made boot feels slightly too roomy, a thin insole or a thicker sock can take up the space. If it feels tight across the top of the foot, no sock will fix it. Break boots in gradually with short walks before a long one, and recheck the fit if you change insoles.
Keep the Inside of the Boot Dry
Damp skin softens and blisters far faster than dry skin, and your feet sweat whether it is hot or not. Change socks at lunch even if they only feel slightly clammy — the difference between a damp sock in the morning and a dry one in the afternoon is the difference between a quiet foot and a loud one. Take your boots and socks off at breaks when the weather allows, let the skin dry, and shake out grit and sand.
At the end of the day, pull the insoles out and let boots air overnight rather than stuffing them in a tent corner. Waterproof membranes keep water out but also slow sweat from escaping, so in hot, dry conditions a breathable non-waterproof shoe can be the drier choice. Gaiters help in wet grass, dew and loose sand, all of which find their way into socks.
Pre-Tape the Spots That Always Complain
Most people blister in the same two or three places. If you know your right heel or the ball of your left foot is a repeat offender, cover it before the walk rather than after the first twinge. Apply tape or a hydrocolloid plaster to clean, dry skin, smooth it from the centre outwards, and make sure no edge is folded — a creased patch of tape is a blister waiting to happen. Some walkers prefer a thin layer of lubricant to reduce friction, others prefer powder to keep the skin dry. Both approaches have their fans; try one on a training walk, never for the first time on a long day.
Treat a Hotspot the Moment You Feel It
A hotspot is a blister that has not formed yet. It feels warm, slightly tender and distinct — you can usually find it with a fingertip. Stopping for five minutes now will save you a week of limping.
- Stop and sit down. Do not wait for the next viewpoint or the planned break.
- Remove the boot and sock and let the skin dry in the air for a minute or two.
- Look for a red, warm patch. If a blister has formed, leave it intact where possible — intact skin is the best protection against infection.
- Cover the area with a plaster or tape that sits flat, with no wrinkles and no edge that will roll.
- Find the cause: retie the laces, remove grit, change to a dry sock, or loosen the forefoot so the toes are not jammed.
- Check again at the next break. A patch that has shifted needs replacing before it does damage.
If a blister breaks, clean it, cover it and keep it covered. Signs of infection — spreading redness, increasing warmth, pus, or feeling unwell — mean you should stop walking and get medical help. Anyone with diabetes or poor circulation in the feet should get professional advice about foot care before a long hike rather than relying on general guidance.
A Five-Minute Routine Before Every Long Walk
Trim toenails straight across a few days ahead, not the morning of the walk, and check for rough edges. Pack two spare sock pairs, a small roll of tape, a few plasters and a nail file or small scissors in your repair kit. In the morning, dry your feet properly, especially between the toes, pull socks on without wrinkles, and lace the ankle snugly. Then forget about your feet for the next few hours — that is the point of the routine.
Look after a hotspot in the first minute and you will rarely have to look after a blister for the next week.
Photo: 652234 / Pixabay