Best Hiking Boots for Wide Feet: What to Compare Before Buying
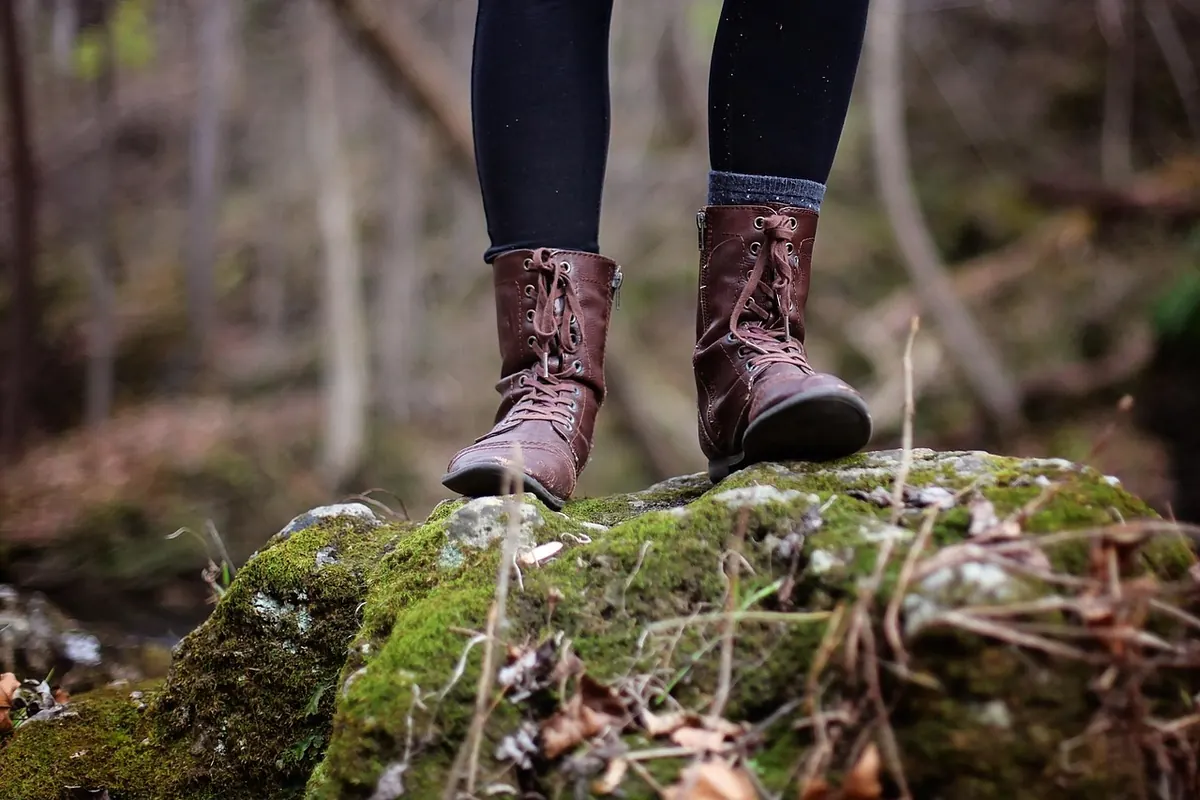
Wide feet are not a niche problem, and they are not one single problem either. Two hikers can both wear a boot marked "wide" and need completely different things from it. One has a broad forefoot that pinches across the ball; the other has a high instep that makes the laces bite down long before the toe box is ever tested. Buying by width letter alone is how people end up with boots that feel generous in the shop and punishing by the eighth kilometre.
Start With the Last, Not the Width Label
Every boot is built on a last, the foot-shaped form the upper is stretched over. Width designations are the manufacturer's description of that last, not an industry-wide measurement. A "wide" in one brand can feel narrower than a "regular" in another, and a boot that fits beautifully in your street size may be a half size off in a mountaineering model with a stiffer, thicker build.
That is why recommendations from other wide-footed hikers are useful as a shortlist, never as a decision. Treat them as candidates to try, not answers.
Before you shop, get a current measurement. A brannock device at a decent outdoor shop gives you length, width and, just as importantly, a heel-to-ball length that tells you where your foot actually flexes. Measure late in the day, standing, in the socks you hike in. Feet swell on the trail, and a boot bought at 9 a.m. after a cold night is a boot bought too small.
Toe Box: Room in the Right Places
A wide toe box is not simply a big toe box. What matters is where the extra volume sits.
With the boot laced and your heel pushed back into the heel cup, you want roughly a finger's width of space in front of your longest toe while standing. Then walk. On the downhill, your foot slides forward; if the toe is already touching the front when you are standing still, you will lose toenails on the first steep descent. Check lateral room at the widest part of your forefoot too, and pay attention to the little toe, the one that gets squeezed by a tapering upper and complains for a week.
Also check that the boot's flex point matches your foot's. Bend the boot in your hands; it should crease where your toes bend, not further back toward the arch. A boot that flexes in the wrong place will push your heel up and your toes into the front, no matter how wide it is.
Volume, Instep, and Heel Hold
Here is where many wide-footed hikers get stuck. A boot wide enough at the ball is often too roomy everywhere else, so the heel lifts with every step and the whole foot slides. Blisters start at the heel, the ankle feels unstable, and the laces get cranked tighter and tighter to compensate, which creates pressure across the top of the foot.
Three separate things are at play, and it helps to name them before you try anything on:
- Width at the ball and forefoot, the measurement most labels refer to.
- Volume, the total interior space, which controls whether your midfoot and instep feel clamped or float.
- Heel hold, the shape and depth of the heel cup and how the lacing pulls the rear of the boot around your ankle.
If your heel lifts in a wide boot, try a heel-lock lacing pattern before giving up on it: lace up to the ankle, then run the lace ends back down through the top eyelets on the same side to create a loop, and pull the ends through those loops before tying. It changes the direction of tension and pulls the heel back into the cup. A thin volume-reducing insole can also take up slack under the midfoot without stealing toe room, though it will change how the boot feels underfoot.
Test heel hold on a sloped ramp in the shop, or on the stairs. A heel that lifts a few millimetres on flat ground will lift much more on a real descent.
Support and Stability on a Wide Platform
Wide feet need a wide platform, not just a wide upper. If the upper is generous but the midsole and outsole are narrow, your foot overhangs the edge and the boot feels tippy on rough ground. Look at the boot from above with your foot inside: the sole should extend at least as far as your forefoot, ideally a little beyond.
Support comes from three places. The shank and midsole stiffness resist twisting on uneven terrain and stop the boot rolling sideways under a heavy pack. The ankle collar and heel counter hold the rear of the foot steady. The lacing system distributes pressure across the instep instead of concentrating it in one spot. For day hikes on maintained trails, a moderately stiff boot is plenty; for scrambling, scree and loaded multi-day trips, a stiffer platform is worth the extra weight.
Try this on a shop floor: stand on one foot and rock side to side. If the boot twists or your foot rolls over the edge of the sole, it is not giving you enough lateral stability, however comfortable it feels standing still.
Break-In Without Blisters
Full-grain leather boots take the longest to mould to a foot; nubuck and split leather sit in the middle; synthetic uppers and knit constructions are close to ready out of the box. None of them are broken in on the first outing, and a wide forefoot is exactly where a stiff upper will crease into the toes.
Wear new boots indoors for an hour or two on the first day, then take them on a short, flat walk of a few kilometres. Increase distance and climb gradually over several outings before committing to a long day or a multi-day route. Keep the laces slightly looser over the forefoot and firmer at the ankle, and stop to adjust them rather than tolerating a hot spot. If a pressure point keeps returning at the same spot, no amount of breaking in will fix it; that is a fit problem, and it is better discovered during the returns window than halfway along a ridge.
The Try-On Routine That Saves Returns
Do this in the shop, ideally in the afternoon, with your hiking socks. Ask for a ramp or use the stairs.
- Push your heel into the back of the boot and lace it as you would on the trail.
- Check toe room standing, then again with weight on one foot.
- Walk uphill on the ramp: your heel should stay put and your toes should not jam.
- Walk downhill: check that the forefoot does not slide forward onto the front of the boot.
- Stand on one foot and rock side to side to judge lateral stability.
- Wiggle your toes and check for pressure over the instep and across the little toe.
- Keep them on for fifteen minutes. Fit problems that feel minor in thirty seconds are obvious in fifteen.
Between two sizes, favour the one that fits your longer foot with a little toe room and solve heel slip with lacing and insole adjustments. Trying to make a short boot work is far harder than making a slightly roomy one snug.
A Sensible Buying Sequence
Measure your feet properly, shortlist two or three models known for generous forefoot room, and try them on in the same session with the same socks so the comparison is fair. Judge volume and heel hold as carefully as you judge width. Buy from a shop or a retailer with a clear returns policy, keep the boots clean and indoors-only for the first few days, and use the first short walks as a test rather than a commitment. If you have an ongoing foot condition, a history of problems with the plantar fascia, or you wear custom orthotics, it is worth speaking to a podiatrist or a qualified fitter before you settle on a boot; the right pair is easier to find with the right advice.
Photo: Pexels / Pixabay